Panasonic PT-D995U User Manual
Browse online or download User Manual for Data projectors Panasonic PT-D995U. Panasonic PT-D995U User's Manual [en]
- Page / 60
- Table of contents
- TROUBLESHOOTING
- BOOKMARKS
- Operating 1
- Instructions 1
- Dear Panasonic Customer: 2
- SAFETY PRECAUTIONS 3
- SAFETY PRECAUTIONS (Cont.) 4
- Contents 6
- Accessories 7
- Controls and Features 8
- Left-hand side 9
- Bottom Surface 10
- Control Panel 11
- Control Panel (Cont.) 12
- Connector Panel 13
- Connector Panel (Cont.) 14
- Remote Control Unit 15
- Open the back cover 16
- Install the batteries 16
- Close the back cover 16
- Installing Batteries 16
- Installing the Projector 17
- Projection 19
- Connecting to Various Devices 21
- Connecting to Video Devices 22
- Connecting to Other Devices 23
- Connection to Macintosh 25
- Desktop type 25
- IN ~) of the projector 26
- Basic Operations 28
- 3. Adjusting the screen size 29
- 4. Adjusting focus 30
- 5. Adjusting sound volume 30
- For Operating Other Functions 31
- Basic Operations (Cont.) 32
- Operating the Setting Menu 33
- Operating the Main Menu 34
- B/B-Y, PR/R-Y” 36
- Changing the Color System 37
- Remote control unit 37
- Press the MENU/ENTER button 37
- Main menu 37
- Changing the Language Display 38
- Adjusting the Pixel Clock 39
- Adjusting the Screen Position 40
- Adjusting Picture Quality 41
- Submenu items 42
- Adjusting Sound Quality 44
- 20 30 60 47
- Submenu item 49
- Remove the lamp-replacement 50
- Resetting the Lamp Use Time 52
- Projector’s button 52
- Remove the filter 53
- Clean the filter 53
- Reinstall the filter 53
- Troubleshooting 54
- Maintenance 55
- Specifications 56
- Specifications (Cont.) 57
- Outside dimensions 58
- Y/C terminal 59
- RS-232C connector 59
- Printed in Japan 60
- LCT0294-001B 60
Summary of Contents
OperatingInstructions PROJECTORModel No.PT-D995UOperating Instructions1-60Read these instructions completely before operating this unit.TQBJ0026
Controls and Features (cont.)Bottom SurfaceAir intake area (filter)Air is taken in through this area to cool the light-sourcelamp. If this area is blo
Controls and Features (cont.)Control PanelSTAND BYLAMP indicatorON: After the light-source lamp has been used formore than approx. 900 hours.Blinking
Controls and Features (cont.)Control Panel (Cont.)STAND BYLAMPTEMPEMERGENCYVIDEOCOMPUTERSETTINGQUICK ALIGN. buttonWhile a menu screen is shown, use th
Controls and Features (cont.)Connector PanelY/C (S video) input terminal (Mini DIN 4 pin)Connect this terminal to the S video output terminal of avide
Controls and Features (cont.)Connector Panel (Cont.)COMPUTER IN (computer input) -2 terminals (BNC)These are input terminals for analog RGB signals, v
Controls and Features (Cont.)Remote Control UnitRemote control’s signal transmitterCOMPUTER buttonUse this button to select the devices connected to t
Controls and Features (cont.)Installing BatteriesInstall batteries in the remote control. If the remote control has started to work erratically, repla
Installing the ProjectorPrecautions for InstallationDo not install the projector in places where :There is much water, humidity or dust.The projector
Installing the Projector (Cont.)Projection Distance and Screen SizeThe projector’s projection lens is a zoom lens of about 1.5 x. The screen size at t
Installing the Projector (Cont.)Relationship between Projection Distances and Projection Screen SizesFor 4 : 3 aspect ratio screensProjectionProjectio
Dear Panasonic Customer:This instruction booklet provides all the necessary operating information that you might require. We hope it willhelp you to g
Installing the Projector (Cont.)Effective Range and Distance of the Remote Control UnitThe operable distance of the remote control unit is about 10 m
Connecting to Various Devices* Before connection, be sure to turn off the projector and connected devices.* Read the manual which comes with each devi
Connecting to Various Devices (Cont.)Connecting to Video DevicesBefore connection, be sure to turn off both the projector and video device.Read the ma
Connecting to Various Devices (Cont.)Connecting to Other DevicesBefore connection, be sure to turn off both the projector and other devices to be conn
Connecting to Various Devices (Cont.)Connecting to Computer DevicesBefore connection, be sure to turn off both the projector and computer devices.Read
Connecting to Various Devices (Cont.)Connecting to Computer Devices (Cont.)Before connection, be sure to turn off both the projector and computer devi
Connecting to Various Devices (Cont.)Connecting the Power Cord (Supplied)After all devices have finished being connected, connect the projector’s powe
Connecting to Various Devices (Cont.)When Turning On the Devices Connected to the ProjectorTurn on the switches of the projector and the devices conne
Basic OperationsProjector’s buttonsSTAND BY indicatorOPERATE indicatorOPERATE buttonRemote control unitThe following describes the basic procedure for
Basic Operations (Cont.)Projector’s buttons2. Selecting the video input to be projectedVIDEO buttonCOMPUTER buttonPress the VIDEO button or the COMPUT
SAFETY PRECAUTIONSIMPORTANT INFORMATION IMPORTANT SAFEGUARDSWARNING :TO PREVENT FIRE OR SHOCK HAZARDS, DONOT EXPOSE THIS APPLIANCE TO RAIN ORMOISTURE.
Basic Operations (Cont.)Remote control unitFOCUS (+/-) buttons4. Adjusting focusAdjust focus with the remote control’s FOCUSbuttons.To focus on farthe
Basic Operations (Cont.)Remote control unitAV MUTING buttonQUICK ALIGN. buttonProjector’s buttonQUICK ALIGN. buttons• For Operating Other FunctionsTo
Basic Operations (Cont.)Projector buttonTo display the SETTING menuThe setting menu is used to make basic adjustments and settings(TRACKING, PHASE, H.
Operating the Setting MenuMaking Basic SettingsProjector’s buttonsHere, we make basic video adjustment and sound volumeadjustment which are set up aft
Operating the Main MenuConfiguration the Main Menu (AV Input) For computer inputs, see the following page.You can adjust video quality (PICTURE), audi
Operating the Main Menu (Cont.)Configuration of the Main Menu (Computer-related input)Main menu (Computer-related inputs : During COMPUTER IN-1 or -2
Operating the Main Menu (Cont.)Operating the Main Menu (Basic Operation of the Main Menu)Remote control unitFor projector’s menus, the setting menu an
Operating the Main Menu (Cont.)Changing the Color SystemRemote control unitAUTO is set for the color system when the projector is shipped fromthe fact
Operating the Main Menu (Cont.)Changing the Language DisplayRemote control unitThe language in the menu display is set to English when shippedfrom the
Operating the Main Menu (Cont.)Adjusting the Pixel ClockRemote control unitThe pixel clock should be adjusted mainly for computer-related inputs.(Norm
SAFETY PRECAUTIONS (Cont.)This product should be operated only with the type ofpower source indicated on the label. If you are notsure of the type of
Operating the Main Menu (Cont.)Adjusting the Screen PositionRemote control unitAdjust the position of the screen if it is displaced.MENU/ENTERbuttonPr
Operating the Main Menu (Cont.)Adjusting Picture QualityRemote control unitAdjust brightness, contrast, etc. so you have the desired screen.Adjustment
Operating the Main Menu (Cont.)Adjusting Picture Quality (Cont.)Remote control unitMENU/ENTERbuttonCursor buttonsPAGE BACK buttonSubmenu items[PICTURE
Operating the Main Menu (Cont.)Adjusting Picture Quality (Cont.)Remote control unitMENU/ENTERbuttonCursor buttonsPAGE BACK buttonSubmenu items[PICTURE
Operating the Main Menu (Cont.)Adjusting Sound QualityRemote control unitAdjust the quality (treble/bass) of sound.Press the MENU/ENTER button.MENU/EN
Operating the Main Menu (Cont.)Setting and Adjusting Other Functions (OPTIONS)Remote control unitMENU/ENTERbuttonThe following optional functions can
Operating the Main Menu (Cont.)Setting and Adjusting Other Functions (OPTIONS) (Cont.)Remote control unitSet (adjust) the desired item with thecursor
Operating the Main Menu (Cont.)Setting and Adjusting Other Functions (OPTIONS) (Cont.)Remote control unitAdjustment item Button Adjustment contentMENU
Operating the Main Menu (Cont.)Changing (Setting) the SourceRemote control unitMENU/ENTERbuttonNormally, use the source setting in AUTO. If use in AUT
Operating the Main Menu (Cont.)Changing (Setting) the Source (Cont.)Remote control unitPress the MENU/ENTER button to set(fix) it.MENU/ENTERbuttonCurs
SAFETY PRECAUTIONS (Cont.)*DO NOT allow any unqualified person toinstall the unit.Be sure to ask your dealer to install the unit(eg. attaching it to t
Replacing the Light-Source LampThe light-source lamp has its service life. It is approximately 1000 hours.When the light-source lamp approaches the en
Replacing the Light-Source Lamp (Cont.)Loosen the lamp-unit screws, raisethe handle, and pull out the lampunit.Loosen the two screws with a flat-end s
Replacing the Light-source Lamp (Cont.)Resetting the Lamp Use TimeAfter replacing with a new light-source lamp, reset the counter inside the projector
Cleaning and Replacing the FilterClean the filter periodically. If the filter is heavily stained and does not get clean, or if it is damaged, replace
TroubleshootingSolutions to common problems related to your projector are described here. If none of the solutions presented here solves theproblem, u
SymptomThe upper part of thevideo image bows ordistorts.Video image andaudio sound suddenlygo out.Remote control unitdoes not work.Probable causeWhile
SpecificationsOpto-mechanical systemProjection methodD-ILA deviceProjecting lensScreen sizeLight-source lampElectrical systemColor systemResolutionSca
Specifications (Cont.)Horizontal sync/composite sync signal (H/CS)H: 1 to 5Vp-p, high impedance (positive/negative polarity)CS: 1 to 5Vp-p, high imped
Specifications (Cont.)Outside dimensionsTopUnit: inch (mm)*1: Protrusion excludedFrontSide58
Specifications (Cont.)Pin assignment (Specifications for connectors/terminal)Y/C terminalPin numberSignal name431GND(Y)2GND(C)213Y4CRS-232C connector6
ContentsSAFETY PRECAUTIONS3Accessories7Controls and Features8Front Side /Top Surface / Right Side8Left-hand side9Bottom Surface10Control Panel11Connec
Professional/Industrial VideoPanasonic Broadcast & Television Systems CompanyDivision of Matsushita Electric Corporation of AmericaExecutive Offic
AccessoriesThe following accessories are included with this projector. Check for them; if any item is missing, please contact yourdealer.Remote contro
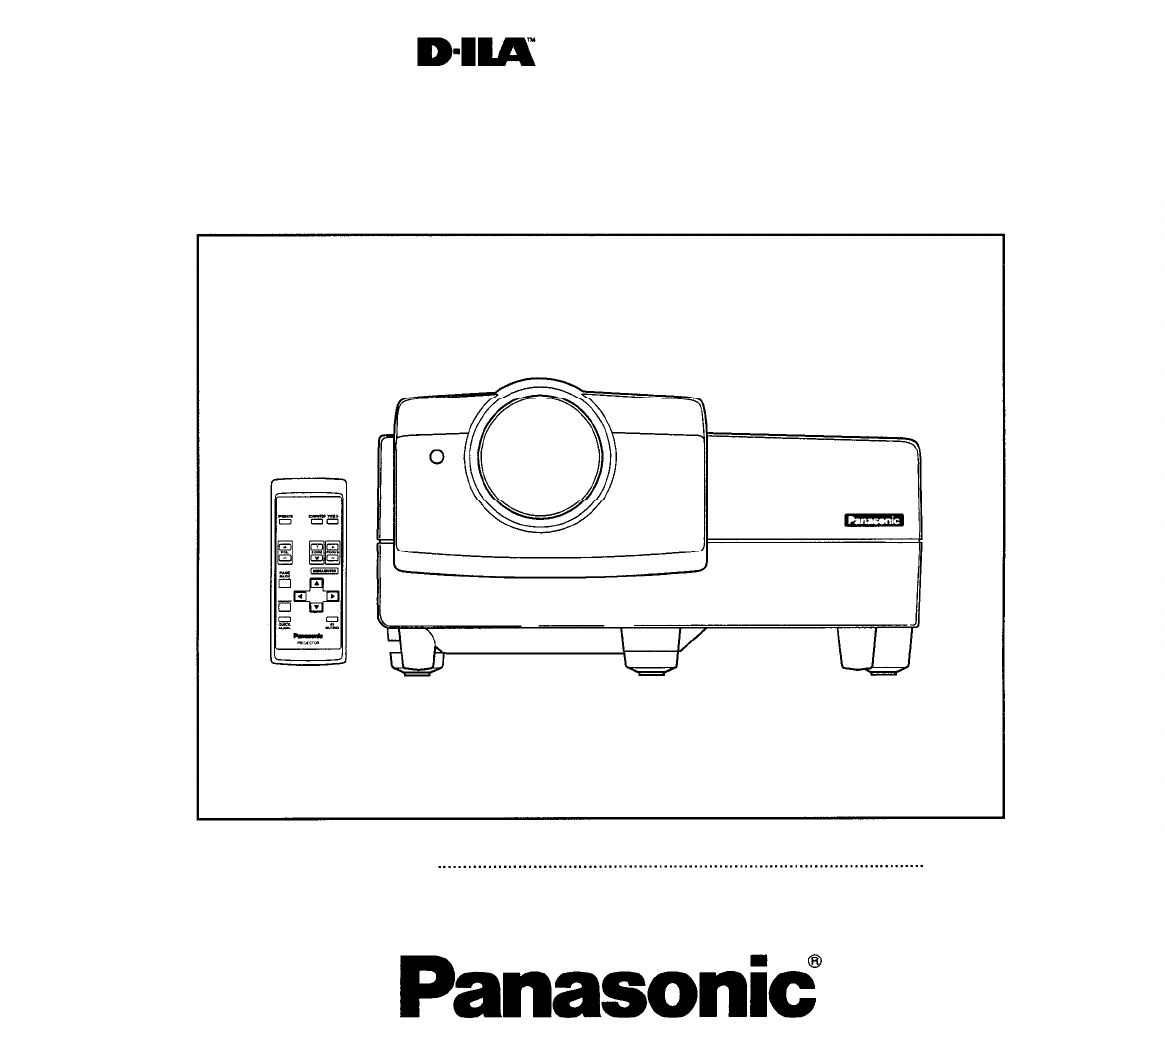
Controls and FeaturesFront Side /Top Surface / Right SideControl panelFor details, refer to “Control Panel” (page 11).Adjustable foot (for adjusting u
Controls and Features (cont.)Left-hand sideAC IN (power input) terminalThis is the power input terminal where the supplied powercord is connected. For
Related products and manuals for Data projectors Panasonic PT-D995U


 (144 pages)
© 2020, manymanuals.com. All rights reserved. | 0.897 s |
 Manymanuals.com
 Manymanuals.de
 Manymanuals.fr
 Manymanuals.it
 Manymanuals.pl
 Manymanuals.cz
 Manymanuals.es
 Manymanuals-pt.com
Comments to this Manuals