Panasonic PT-LB51NTU User Manual
Browse online or download User Manual for Data projectors Panasonic PT-LB51NTU. Panasonic PT-LB51NTU User's Manual
- Page / 62
- Table of contents
- TROUBLESHOOTING
- BOOKMARKS
- PT-LB51NTU 1
- PT-LB51U 1
- PT-LB51SU 1
- Important Safety Notice 2
- ENGLISH - 3 3
- Contents 4
- ENGLISH - 5 5
- Settings 5
- Maintenance 5
- Appendix 5
- ENGLISH - 6 6
- WARNINGS 6
- ENGLISH - 7 7
- CAUTIONS 7
- ENGLISH - 8 8
- Cautions when transporting 8
- Cautions when installing 8
- ENGLISH - 9 9
- Cautions on use 9
- Accessories 9
- About Your Projector 10
- ENGLISH - 11 11
- ENGLISH - 12 12
- Projector body 12
- ENGLISH - 13 13
- Setting up 14
- ENGLISH - 15 15
- ENGLISH - 16 16
- Projection method 16
- ENGLISH - 17 17
- Connections 18
- ENGLISH - 19 19
- Connecting with AV equipment 19
- ENGLISH - 20 20
- Power cord 20
- POWER indicator 20
- ENGLISH - 21 21
- Switching on the projector 21
- Switching off the projector 21
- Projecting an image 22
- Remote control operation 23
- ENGLISH - 24 24
- Switching the input signal 24
- Capturing an image 24
- ENGLISH - 25 25
- ENGLISH - 26 26
- Enlarging the centered area 26
- Menu Navigation 27
- ENGLISH - 28 28
- Main menu and Sub-menu 28
- ENGLISH - 29 29
- PICTURE menu 30
- ENGLISH - 31 31
- DAYLIGHT VIEW 31
- DETAILED SETUP 31
- POSITION menu 32
- LANGUAGE menu 33
- OPTION menu 34
- NGLISH - 35 35
- ENGLISH - 36 36
- HIGHLAND 36
- RGB/YPBPR 36
- SECURITY menu 37
- ENGLISH - 38 38
- Items in WIRELESS menu 38
- TEMP, LAMP Indicators 39
- Care and Replacement 40
- REPLACE LAMP 41
- ENGLISH - 42 42
- Troubleshooting 43
- Technical Information 44
- ENGLISH - 45 45
- Serial terminal 45
- ENGLISH - 46 46
- ENGLISH - 47 47
- Computer connection guidance 47
- ENGLISH - 48 48
- Specifications 48
- ENGLISH - 49 49
- <Units: mm (inch)> 50
- ENGLISH - 51 51
- Trademark acknowledgments 51
- ENGLISH - 52 52
- ENGLISH - 53 53
- FRANÇAIS - 54 54
- Cher client Panasonic: 54
- FRANÇAIS - 55 55
- Précautions de sécurité 56
- FRANÇAIS - 57 57
- MISES EN GARDE 57
- FRANÇAIS - 58 58
- Précautions lors du transport 58
- FRANÇAIS - 59 59
- REMPLACER LA LAMPE 60
- FRANÇAIS - 61 61
- Technical Support: 62
Summary of Contents
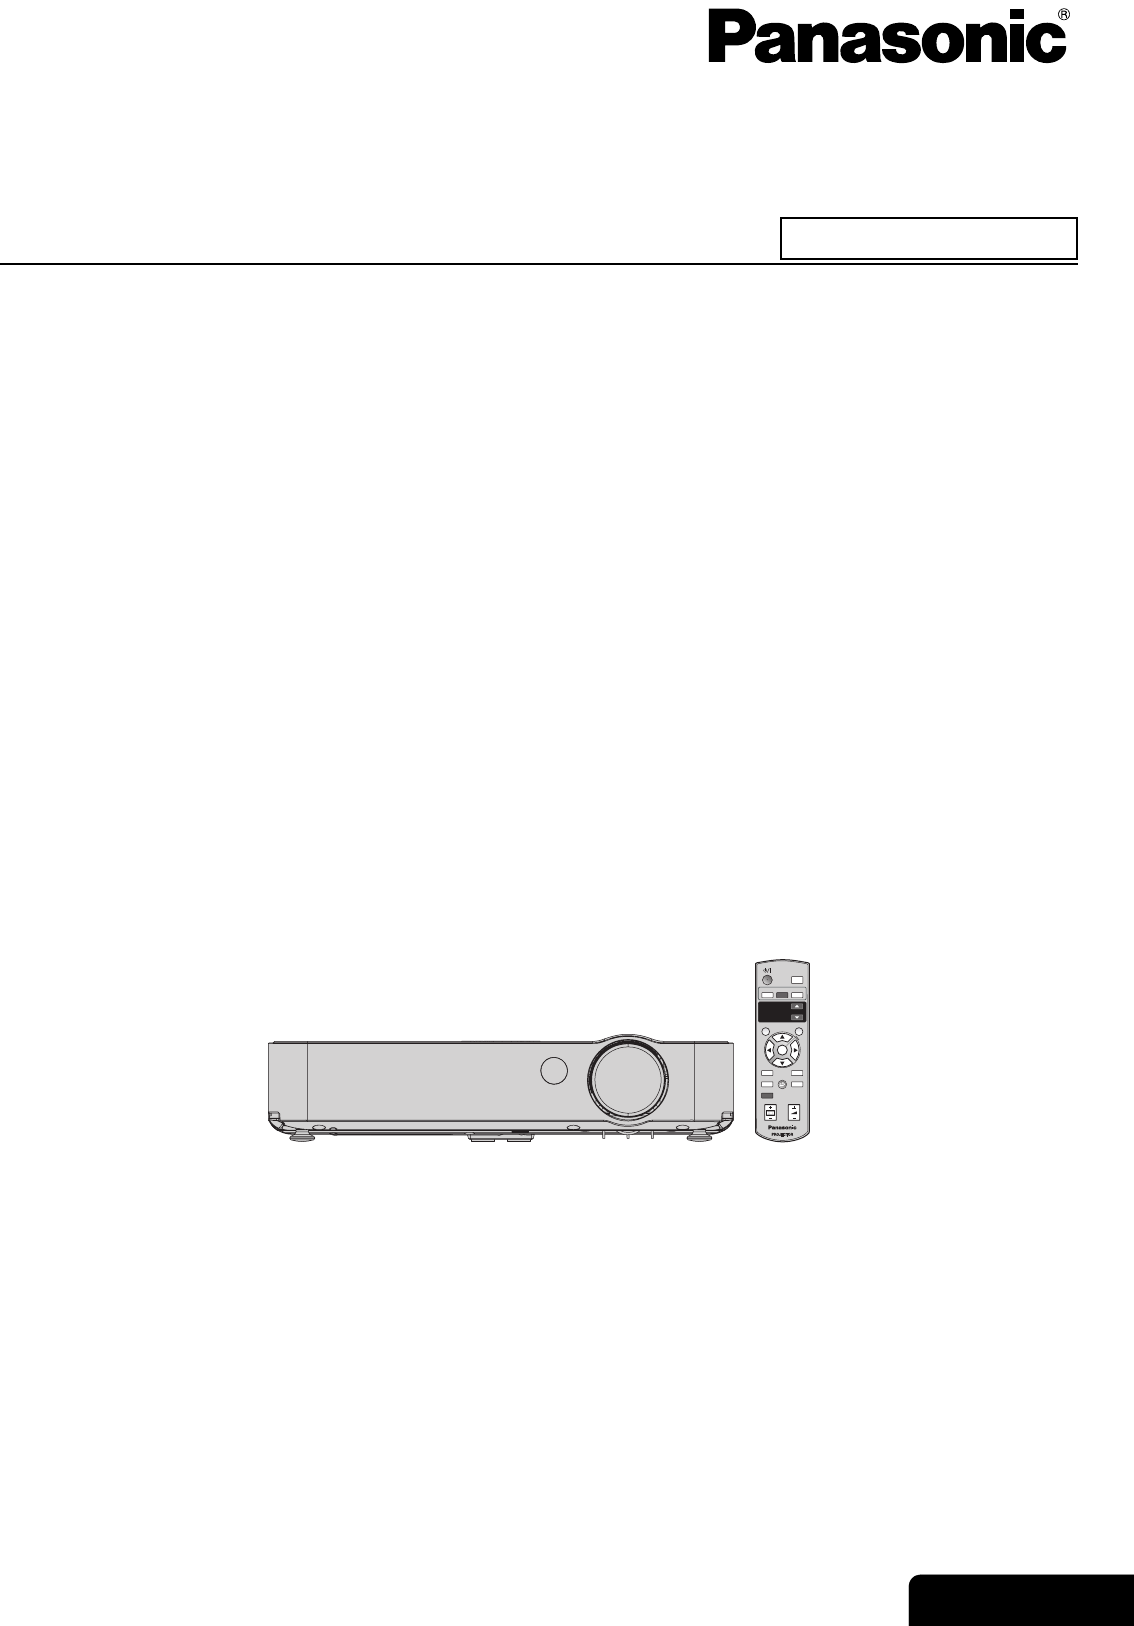
ENGLISH Operating InstructionsLCD Projector Model No. PT-LB51NTUPT-LB51UPT-LB51SUBefore operating this product, please read the instructions carefully
ENGLISH - 10PreparationAbout Your ProjectorBattery compartment1. Press the tab and lift up the cover.2. Insert the batteries according to the polarity
PreparationAbout Your ProjectorENGLISH - 11Attaching a hand strapYou can attach a favorite strap on to the Remote control.NOTE:• Do not drop the Remot
PreparationAbout Your ProjectorENGLISH - 12J Top and front viewProjector bodyNOTE:• Do not cover the ventilation openings or place anything within 15
PreparationAbout Your ProjectorENGLISH - 13J Back and bottom viewNOTE:• Do not cover the ventilation openings or place anything within 15 cm (6")
Getting StartedENGLISH - 14Setting upYou can adjust the projection size with 1.2x zoom lens. Calculate and define the throw distance as follows.PT-LB5
Getting StartedSetting upENGLISH - 15J Calculation methods for screen dimensionsYou can calculate more detailed screen dimension from the screen diago
Getting StartedSetting upENGLISH - 16You can use the projector with any of the following 4 projection methods. To set the desired method in the projec
Getting StartedSetting upENGLISH - 17You can adjust the projection angle in the vertical direction by pressing the Font leg adjuster buttons.See “Posi
Getting StartedENGLISH - 18Connections Read and follow the operating and connecting instructions of each peripheral device. The peripheral devices m
Getting StartedConnectionsENGLISH - 19J Connecting with VIDEO IN/S-VIDEO INJ Connecting with COMPONENT INConnecting with AV equipmentNOTE:• If you con
Important InformationENGLISH - 2Important Safety NoticeDear Panasonic Customer:This instruction booklet provides all the necessary operating informati
ENGLISH - 20Basic OperationSwitching the projector on/offJ Connecting1. Make sure the shape of the power cord plug and the AC IN connector on the back
Basic OperationSwitching the projector on/offENGLISH - 211. Plug the Power cord into the projector. The POWER indicator lights up in RED.2. Press the
ENGLISH - 22Basic OperationProjecting an image1. Switch on the connected devices. Press the play button of the required device.2. Press the INPUT SEL
ENGLISH - 23Basic OperationRemote control operationYou can operate the projector with the Remote control within the remote range 15 m (49'2"
Basic OperationRemote control operationENGLISH - 24You can switch the input method manually by pressing the COMPUTER, WIRELESS (PT-LB51NTU only) and V
Basic OperationRemote control operationENGLISH - 25You can reset most of the customised settings to the factory defaults by pressing DEFAULT button of
Basic OperationRemote control operationENGLISH - 26You can enlarge the projected image down to a centered area for emphasizing within the range of 1x
ENGLISH - 27SettingsMenu NavigationThe menu system allows you to access functions which do not have their own dedicated buttons on the Remote control.
SettingsMenu NavigationENGLISH - 28The Main menu has 6 options. Select the required menu item and press ENTER to display the Sub-menu. Main menu and S
Menu NavigationENGLISH - 29SettingsMain menu Sub-menu Options (Under line is default setting) PageOPTION INPUT GUIDE DETAILEDSIMPLE page 34OFFSTARTUP
Important InformationImportant Safety NoticeENGLISH - 3Information on Disposal in other Countries outside the EuropeanThis symbol is only valid in the
ENGLISH - 30SettingsPICTURE menuDepending on the projection environment, you can use these preset parameter settings to optimise image projection. Pre
PICTURE menuENGLISH - 31SettingsYou can keep the projected image bright and vivid even in well-lit rooms where the ambient light sources cannot be con
ENGLISH - 32SettingsPOSITION menuThis projector detects its own degree of tilt and corrects the keystone distortion automatically. OFF: Deactive ON:
LANGUAGE menuENGLISH - 33SettingsQ 4:3The input signal will be projected without any change.Q 16:9The squeezed signal will be projected in 16:9 ratio.
ENGLISH - 34SettingsOPTION menuWhen the input signal is changed, the input signal information will be displayed in the upper right corner of the proje
OPTION menuENGLISH - 35SettingsYou can check how long the lamp has been used.You can set the off timer to switch off the POWER of the projector after
SettingsOPTION menuENGLISH - 36If you use the projector at high elevation, the HIGHLAND setting need to be ON to set the fan speed high. Press I H to
ENGLISH - 37SettingsSECURITY menuJ Entering the SECURITYEvery time when you apply to the SECURITY menu, you will be asked to perform the password oper
ENGLISH - 38SettingsWIRELESS menu (PT-LB51NTU only)In WIRELESS menu, the following items are available. NETWORKSelect the network setting you want to
ENGLISH - 39MaintenanceTEMP, LAMP IndicatorsIf a problem should occur with the projector, the TEMP, LAMP indicators will inform you. Manage the indica
ENGLISH - 4ContentsJ Quick stepsImportant Safety Notice... 2Precautions with regard to safety...
ENGLISH - 40MaintenanceCare and ReplacementJ Before cleaning the projector Disconnect the power cord plug from the wall outlet. Unplug all the cable
Care and ReplacementENGLISH - 41MaintenanceJ Before replacing the Lamp unit Disconnect the power cord plug from the wall outlet. Make sure the Lamp
MaintenanceCare and ReplacementENGLISH - 422. Use a Phillips screwdriver to turn the lamp unit cover fixing screws at the bottom of the projector, and
ENGLISH - 43MaintenanceTroubleshootingShould any problem persist, contact your dealer.Problem CauseReference pagePower does not turn on. The Power cor
ENGLISH - 44AppendixTechnical InformationList of compatible signalsModeDisplay resolution (dots)*1*1. The “i” appearing after the resolution indicates
Technical InformationENGLISH - 45AppendixThe serial connector which is on the connector panel of the projector conforms to the RS-232C interface speci
AppendixTechnical InformationENGLISH - 46J Cable specifications(When connected to a personal computer)J Control commandsCommand Control contents Remar
Technical InformationENGLISH - 47AppendixYou can switch the signals which to output from the COMPUTER1 OUT terminal by pressing the computer key comma
AppendixTechnical InformationENGLISH - 48SpecificationsPower supply AC 100 - 240 V 50 Hz/60 HzPower consumption240 WDuring standby (when fan is stoppe
Technical InformationENGLISH - 49AppendixTerminalsS-VIDEO INSingle - line, Mini DIN 4pY: 1.0 V [p-p], C: 0.286 V [p-p], 75ΩVIDEO INSingle - line, RCA
PreparationGetting StartedBasic OperationSettingsMaintenanceAppendixENGLISH - 5Important InfomationMenu Navigation ...
AppendixTechnical InformationENGLISH - 50Dimensions<Units: mm (inch)>
Technical InformationENGLISH - 51Appendix VGA and XGA are trademarks of International Business Machines Corporation. S-VGA is a registered trademark
ENGLISH - 52AppendixIndexAAC IN ...13Accessories ...
AppendixIndexENGLISH - 53PPAGE (PT-LB51NTU only) ... 10PASSWORD CHANGE ... 37PICTURE menu ...
Imformation ImportanteFRANÇAIS - 54Avis important concernant la sécuritéCher client Panasonic:Ce mode d'emploi vous donne toutes les informations
Information ImportanteAvis important concernant la sécuritéFRANÇAIS - 55Informations sur l'évacuation des déchets dans les pays ne faisant pas pa
Imformation ImportanteFRANÇAIS - 56Précautions de sécuritéSi l'on remarque une émission de fumée, d'odeurs suspectes ou de bruits provenant
Information ImportantePrécautions de sécuritéFRANÇAIS - 57Ne pas toucher le liquide provenant des fuites des piles. Si vous touchez le liquide des fu
Information ImportantePrécautions de sécuritéFRANÇAIS - 58Lorsqu'on insère les piles, veiller à ce que les polar-ités (+ et –) soient bien respec
Information ImportantePrécautions de sécuritéFRANÇAIS - 59Éviter de l'installer dans les endroits sujets à des vi-brations ou à des chocs. Les p
Important InformationENGLISH - 6Precautions with regard to safetyIf you notice smoke, strange smells or noise coming from the projector, disconnect th
Imformation ImportanteFRANÇAIS - 60Remplacement de l'unité de la lampeJ Avant de remplacer le l'Unité de la lampe Débrancher le cordon prin
Information ImportanteRemplacement de l'unité de la lampeFRANÇAIS - 61J Procédure de remplacement1. Débrancher le cordon d’alimentation du projec
NOTE:This product contains a CR Coin Cell Lithium Battery which contains Perchlorate Material - special handling may apply.See www.dtsc.ca.gov/hazardo
Precautions with regard to safetyENGLISH - 7Important InformationDo not place your skin into the light beam while the projector is being used. Strong
Precautions with regard to safetyENGLISH - 8Important InformationDo not mix old and new batteries. If the batteries are inserted incorrectly, they ma
Precautions with regard to safetyENGLISH - 9Important InformationIn order to get the best picture quality Draw curtains or blinds over any windows an
Related products and manuals for Data projectors Panasonic PT-LB51NTU

 (100 pages)
© 2020, manymanuals.com. All rights reserved. | 0.230 s |
 Manymanuals.com
 Manymanuals.de
 Manymanuals.fr
 Manymanuals.it
 Manymanuals.pl
 Manymanuals.cz
 Manymanuals.es
 Manymanuals-pt.com
Comments to this Manuals