Panasonic ADVANCED HYBRID KX-TEB308 User Manual
Browse online or download User Manual for Remote control Panasonic ADVANCED HYBRID KX-TEB308. Panasonic ADVANCED HYBRID KX-TEB308 User Manual
- Page / 36
- Table of contents
- BOOKMARKS
- Model 1
- System Components 2
- Important Safety Instructions 3
- 4 Getting Started 4
- SAVE THESE INSTRUCTIONS 5
- 6 Getting Started 6
- Getting Started 7 7
- Table of Contents 8
- 1 Before Installation 9
- 1.2 System Connection Diagram 10
- 2 Installation 11
- 2.3 Connecting Extensions 12
- 2.4 Securing the Cables 13
- 2.5 Closing Covers 14
- 2.6 Wall Mounting 15
- 16 Getting Started 16
- 2.7 Connecting Frame Earth 17
- 18 Getting Started 18
- To AC Outlet 19
- Power Switch 19
- 20 Getting Started 20
- 4 PC Programming 21
- 5 PT Programming 22
- 3 digits 23
- 24 Getting Started 24
- (5 times) 25
- 5.2.1 Basic Features 26
- Operator Assignment [008] 27
- Extension Number [009] 27
- Automatic Line Access [121] 28
- Dial Mode [401] 28
- Pulse Speed [402] 28
- Extension Name [604] 29
- Country [995] 29
- To continue 30
- TRS—Exception Code [306] 31
- 32 Getting Started 32
- Getting Started 33 33
- 34 Getting Started 34
Summary of Contents
Thank you for purchasing a Panasonic Advanced Hybrid System.Please read this manual carefully before using this product and save this manual for futur
10 Getting Started1.2 System Connection Diagram• Connect a display-equipped proprietary telephone (PT) to extension jack 01, as this extension is auto
Getting Started 112 Installation2.1 Opening Covers1. Pull the slide button to the right and, holding it, slide the cable cover upwards. Then turn the
12 Getting Started2.3 Connecting ExtensionsExtension jacks can be used for proprietary telephones (PTs), Direct Station Selection (DSS) Consoles, sing
Getting Started 132.4 Securing the Cables1. Attach the included strap to either of the 2 rails depending on your preference.2. Bind the cables as show
14 Getting Started2.5 Closing Covers1. Attach the rear hooks on the cable cover to the main unit, then swing the cable cover closed so that the front
Getting Started 152.6 Wall MountingThe PBX is designed for wall mounting only. The wall where the PBX is to be mounted must be able to support the wei
16 Getting StartedNotes• Do not block the openings of the cabinet. Leave at least 20 cm of space above and 10 cm to the sides of the PBX for ventilati
Getting Started 174. Affix the PBX to the screw heads.Notes• Do not block the openings of the cabinet. Leave at least 20 cm of space above and 10 cm t
18 Getting Started• Be sure to comply with all applicable laws, regulations, and guidelines.• Proper earthing is very important to protect the PBX fro
Getting Started 193 Starting the Advanced Hybrid System3.1 Starting the Advanced Hybrid SystemThis section explains the procedure for starting the PBX
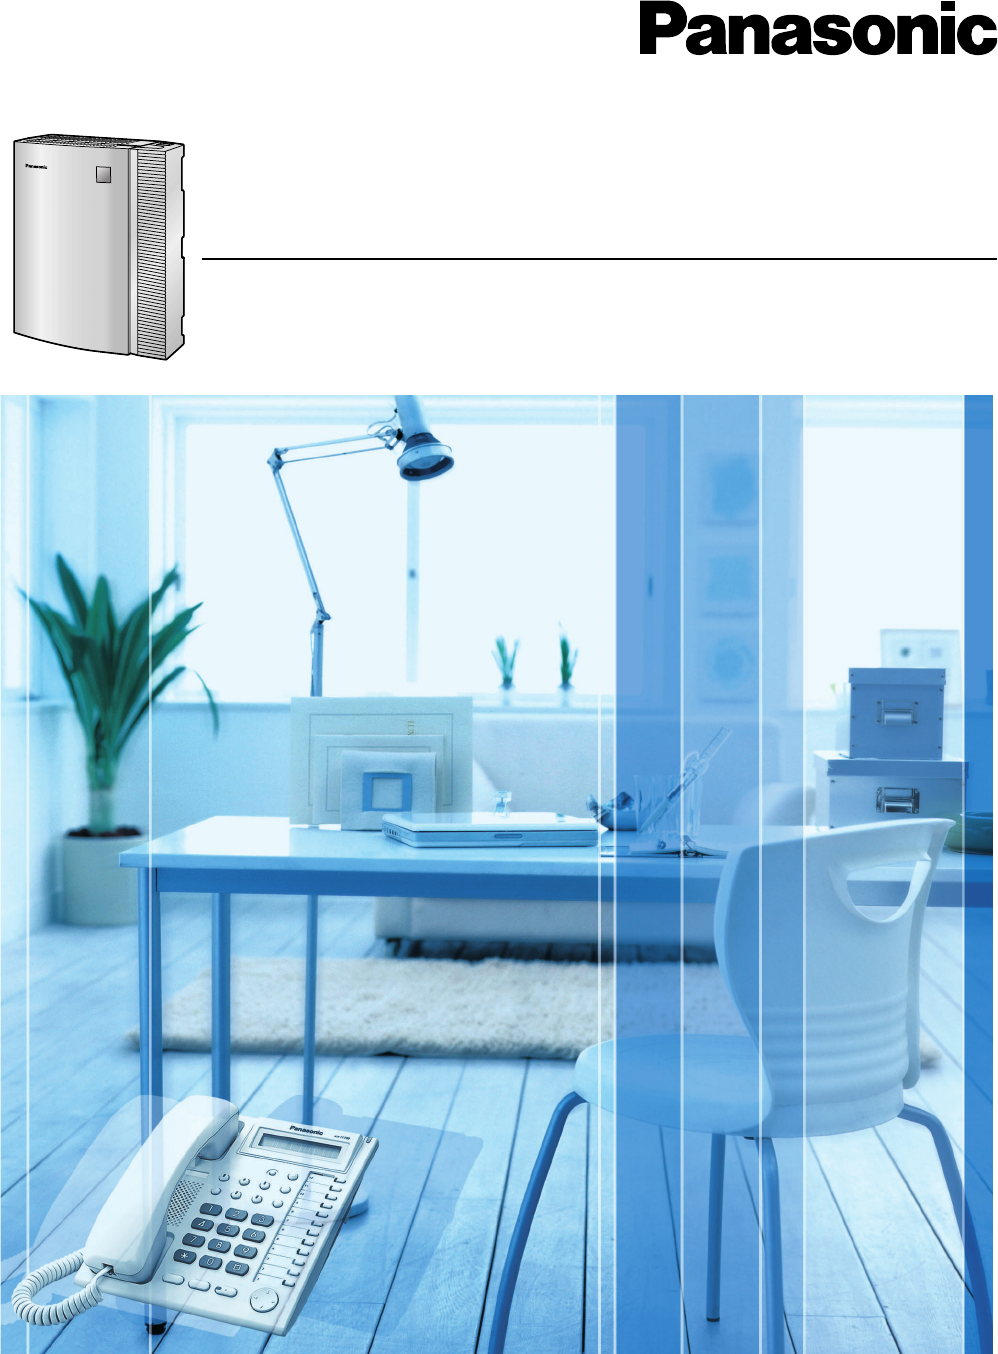
2 Getting StartedSystem ComponentsSystem Components TableModel DescriptionMain Unit KX-TEA308 Advanced Hybrid System: 3 Outside (CO) Lines, 8 Hybrid
20 Getting StartedCAUTION• The PBX is powered as long as the AC cord is plugged into an AC outlet, even if the Power Switch is set to the "OFF&qu
Getting Started 214 PC Programming4.1 PC ProgrammingPBX features and settings can be customised using a PC and the KX-TE308 Maintenance Console softwa
22 Getting Started5 PT Programming5.1 Programming InstructionsThe PBX can be programmed by entering 3-digit programming numbers with a PT.In this manu
Getting Started 23Entering System Programming ModeTo enter system programming mode, the system password is required.Note means default value throughou
24 Getting StartedThe PT's dialling buttons can be used to enter characters when storing a name or message. The following tables depict the avail
Getting Started 25Table 3 (Cyrillic alphabet mode for RU [Russia]/UA [Ukraine] model)* This character is only available for the KX-T7735RU. [Example o
26 Getting Started5.2.1 Basic FeaturesDate & Time [000]Notes• The clock starts immediately after the STORE button is pressed.• The PBX supports ye
Getting Started 272. To avoid unauthorised access and possible fraudulent dialling, maintain the secrecy of the password.3. We strongly recommend that
28 Getting StartedSystem Speed Dialling Name [011]Note* A name can be stored using a PT's dialling buttons. The displayed character varies depend
Getting Started 29Extension Name [604]Note* An extension name can be stored using a PT's dialling buttons. The displayed character varies dependi
Getting Started 3Important Safety InstructionsWhen using your telephone equipment, basic safety precautions should always be followed to reduce the ri
30 Getting Started5.2.2 Toll Restriction (TRS) FeaturesToll Restriction (TRS) can prohibit certain extension users from making unauthorised outside (C
Getting Started 31TRS—COS 2-5 Denied Code [302-305]TRS—Exception Code [306]3 XNEXTcode no. phone no.STORE END(01…20)SELECTNEXT PREVorTo continueTo con
32 Getting Started
Getting Started 33
34 Getting Started
TEMPLATE FOR WALL MOUNTINGCopy or print this template and place it on the wall.Install the screws as marked.If you mount the main unit on a concrete o
<Product Documentation for the KX-TEA308/KX-TEB308> Electronic documentation for the KX-TEA308/KX-TEB308 can be found on the included CD-ROM.To
4 Getting Started16. Keep the unit away from heating appliances and devices that generate electrical noise such as fluorescent lamps, motors and telev
Getting Started 5NoticeRegarding removing or replacing a battery in the circuit board, consult your dealer. For users in Finland, Norway and Sweden on
6 Getting StartedPrecautions for Users in the United KingdomFOR YOUR SAFETY, PLEASE READ THE FOLLOWING TEXT CAREFULLY. This appliance is supplied with
Getting Started 7How to replace the fuse: Open the fuse compartment with a screwdriver and replace the fuse and fuse cover.The equipment must be conne
8 Getting StartedTable of Contents1 Before Installation ...... 91.1 Unpack
Getting Started 91 Before Installation1.1 UnpackingCheck the package contents.Main Unit × 1CD-ROM (including manuals, etc.) × 1Necessary tools (not su
Related products and manuals for Remote control Panasonic ADVANCED HYBRID KX-TEB308

 (48 pages)
 (10 pages)
© 2020, manymanuals.com. All rights reserved. | 1.585 s |
 Manymanuals.com
 Manymanuals.de
 Manymanuals.fr
 Manymanuals.it
 Manymanuals.pl
 Manymanuals.cz
 Manymanuals.es
 Manymanuals-pt.com
Comments to this Manuals