Panasonic SC-HC35 User Manual
Browse online or download User Manual for Acoustics Panasonic SC-HC35. Panasonic SC-HC35 User Manual
- Page / 28
- Table of contents
- TROUBLESHOOTING
- BOOKMARKS
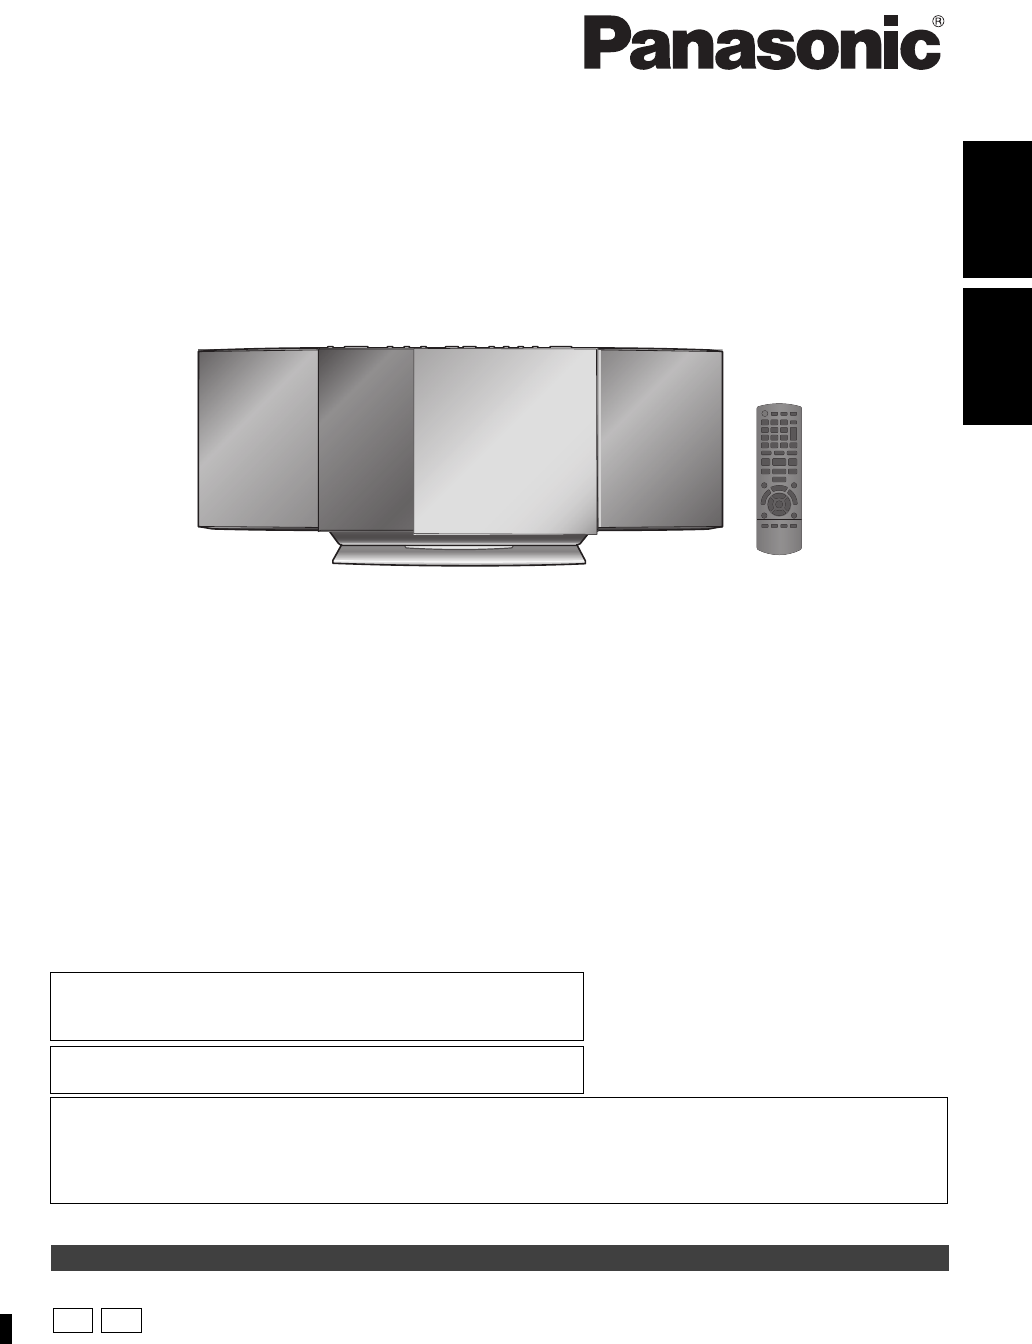
- Owner’s Manual 1
- Compact Stereo System 1
- IMPORTANT SAFETY INSTRUCTIONS 2
- Listening Caution 3
- Unit and media care 4
- Accessories Table of contents 4
- Connections 5
- Installation accessories 6
- Safety precautions 6
- Wall mount instructions 6
- Control reference guide 8
- Opening/Closing the 9
- Disc operations 9
- Basic play 10
- Repeat play 10
- Play mode function 10
- Program play 10
- Sound adjustment 11
- Radio operations 11
- Listening to audio from 12
- [HC55] Using a Bluetooth 13
- On the Bluetooth 14
- device: 14
- RQTX1260 15
- Troubleshooting 16
- [HC55] Bluetooth 17
- operations 17
- Displayed messages 17
- Specifications 18
- Conexiones 19
- Spanish Quick Reference/ 19
- Referencia rápida en español 19
- Mando a distancia 20
- Unidad principal 20
- Abrir/Cerrar la puerta 21
- Operaciones con discos 21
- Reproducción básica 22
- Ajuste de sonido 23
- Sincronizador 23
- Escuchar audio de un 24
- [HC55] Uso de un 25
- Limited Warranty 26
- Limited Warranty ( 27
- ONLY FOR 27
- CANADA) 27
- RQTX1260-3P 28
Summary of Contents
RQTX1260-3PESPAÑOL ENGLISHOwner’s ManualDear customerThank you for purchasing this product.For optimum performance and safety, please read these instr
10RQTX12601 Press [Í] to turn the unit on.2 Insert the disc to be played (> 9).3 Press [CD].4 Press [1/;] to start play.After performing steps 1-3
11RQTX1260ENGLISHSound adjustmentThe following sound effects can be added to the audio output.≥ You may experience a reduction in sound quality when t
12RQTX1260TimerThis is a 12-hour clock.1 Press [CLOCK/TIMER] to select “CLOCK”.2 Within 10 seconds, press [3, 4] to set the time.3 Press [OK].≥ To di
13RQTX1260ENGLISH∫ Compatible iPod/iPhone (as of January 2011)≥ Update your iPod/iPhone with the latest software before using this unit.≥ Compatibilit
14RQTX1260PreparationPair the Bluetooth® device with this unit to create an audio connection.1 Press [ , iPod] repeatedly to select “BLUETOOTH”.When u
15RQTX1260ENGLISH1 Press [ , iPod] repeatedly to select “BLUETOOTH”.2 Press [ MENU] to display “DISCONNECT?” and then press [OK].A confirmation messag
16RQTX1260TroubleshootingBefore requesting service, make the following checks. If you are in doubt about some of the check points, or if the solutions
17RQTX1260ENGLISHThe name of the connected device is shown as “¢”.≥ Character that cannot be displayed will be replaced by “¢”.≥ An unknown device nam
18RQTX1260Specifications§ MPEG-1 Layer 3, MPEG-2 Layer 3≥ Specifications are subject to change without notice.Mass and dimensions are approximate.≥ T
19RQTX1260ESPAÑOLConexiones1 Conecte la antena interior FM.≥ Fije con cinta la antena a un muro o columna en un lugar que tenga la menor cantidad de i
2RQTX1260IMPORTANT SAFETY INSTRUCTIONSRead these operating instructions carefully before using the unit. Follow the safety instructions on the unit an
20RQTX1260Guía de referencia del mando a distancia Los botones tales como 2 funcionan igual que el mando a distancia. Se pueden usar indistintamente.V
21RQTX1260ESPAÑOLAbrir/Cerrar la puerta deslizante PreparaciónPresione [Í] para encender la unidad.Para operaciones con discos:A Mientras la puerta de
22RQTX12601 Presione [Í] para encender la unidad.2Inserte el disco que desea reproducir (>21).3 Presione [CD].4 Presione [1/;] para comenzar a repr
23RQTX1260ESPAÑOLOperaciones con la radio1Presione [EXT-IN, RADIO] repetidamente para seleccionar “FM” o “AM”.2Presione [6] o [5] para seleccionar la
24RQTX1260El apagado automático puede apagar la unidad después de una hora predefinida.Presione [SLEEP] para activar o desactivar la función de apagad
25RQTX1260ESPAÑOLEsta unidad puede reproducir radio por Internet si está instalado “vTuner for Panasonic” en su iPhone/iPod touch.≥Visite el sitio web
26RQTX1260Limited Warranty (ONLY FOR U.S.A. AND PUERTO RICO)Panasonic Consumer Electronics Company, Division of Panasonic Corporation of North America
27RQTX1260ENGLISHLimited Warranty (ONLY FOR CANADA)Panasonic Canada Inc.5770 Ambler Drive, Mississauga, Ontario L4W 2T3PANASONIC PRODUCT - LIMITED WAR
[HC55]THE FOLLOWING APPLIES ONLY IN THE U.S.A.FCC Note:This equipment has been tested and found to comply with the limits for a Class B digital device
3RQTX1260ENGLISHFor SC-HC55 onlyThe model number and serial number of this product can be found on either the back or the bottom of the unit.Please no
4RQTX1260Unit and media carePull out the AC power plug from the outlet before maintenance.∫ Clean this unit with a soft, dry cloth≥ When dirt is heavy
5RQTX1260ENGLISHConnections1 Connect the FM indoor antenna.≥ Tape the antenna to a wall or column, in a position with the least amount of interference
6RQTX1260Attaching the unit to a wall (optional)∫ Supplied accessories≥ 1 Safety holder screw B (Silver)≥ 2 Safety holder screws C (Black)≥ 1 Safety h
7RQTX1260ENGLISH2 Measure and mark the position of the wall mount brackets (Both sides).≥ Use figures below to identify the screwing positions.The pos
8RQTX1260Control reference guideButtons such as 2 function the same as the remote control. They can be used interchangeably.Top viewFront viewRemote c
9RQTX1260ENGLISHOpening/Closing the sliding doorPreparationPress [Í] to turn the unit on.For disc operations:A While the sliding door is closed, press
Related products and manuals for Acoustics Panasonic SC-HC35
 (28 pages)
(39 pages)
(36 pages)
(40 pages)
(40 pages)
(40 pages)
(44 pages)
(40 pages)
(44 pages)
(28 pages)
(40 pages)
(36 pages)
(8 pages)
(64 pages)
(36 pages)
(28 pages)
(39 pages)
(36 pages)
(40 pages)
(40 pages)
(40 pages)
(44 pages)
(40 pages)
(44 pages)
(28 pages)
(40 pages)
(36 pages)
(8 pages)
(64 pages)
(36 pages)
 (8 pages) (2 pages)
(60 pages)
(8 pages) (2 pages)
(60 pages)
© 2020, manymanuals.com. All rights reserved. | 0.628 s |
 Manymanuals.com
 Manymanuals.de
 Manymanuals.fr
 Manymanuals.it
 Manymanuals.pl
 Manymanuals.cz
 Manymanuals.es
 Manymanuals-pt.com
Comments to this Manuals