Panasonic WVCS600_SERIES User Manual
Browse online or download User Manual for Camera accessories Panasonic WVCS600_SERIES. Panasonic WVCSR600 User manual
- Page / 42
- Table of contents
- BOOKMARKS
- WV-BS500 WV-CS600A 1
- WV-BS504E WV-CS604E 1
- WV-BST500 WV-CSR600 1
- WV-CST600 1
- ENGLISH VERSION 2
- CONTENTS 4
- FEATURES 5
- PRECAUTIONS 5
- CONSTRUCTION 6
- SETUP PROCEDURE 7
- ■ Setup Menu 7
- • WV-RM70 8
- ● PRESET 9
- ● Self Return (SELF RETURN) 9
- ● AUTO MODE 10
- ● LOCAL/REMOTE 10
- ● Camera 10
- ■ Setting Procedures 12
- ■ Menu Display 13
- ● Preset Menu Display 15
- ● Position Setting 15
- ● Preset ID Setting 16
- ● Light Control Setting 18
- ● Wide-Dynamic Range Setting 18
- ● Dwell Time Setting 18
- ● Scene File Setting 18
- ● To return to the setup menu 19
- ■ Self Return Setting 20
- ■ Auto Mode Setting 20
- ■ LOCAL/REMOTE Setting 21
- ■ Camera Setting 21
- 12. Special Menu (SPECIAL) 31
- INSTALLATION 33
- 3. Assemble the camera 34
- Ring of the 35
- Fall Prevention 35
- Wire Fixing Angle 35
- CONNECTIONS 36
- SYSTEM CONNECTIONS 38
- SPECIFICATIONS 39
- ACCESSORIES 41
- OPTIONAL ACCESSORIES 41
- N 30 Gedruckt in Japan 42
- Imprimé au Japon 42
- Impreso en Japón 42
Summary of Contents
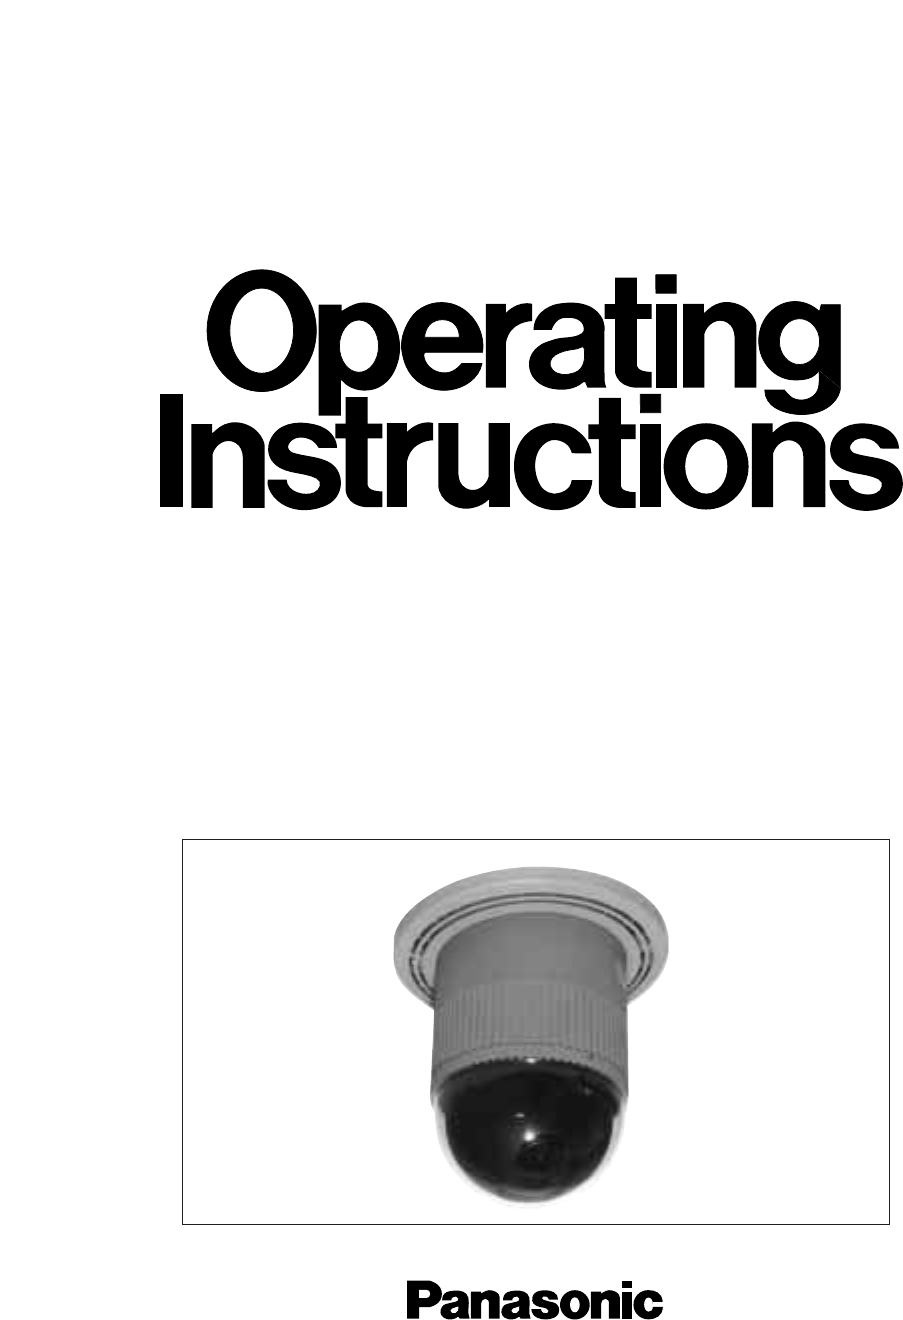
Combination CameraWV-BS500 WV-CS600AWV-BS504E WV-CS604EWV-BST500 WV-CSR600WV-CST600Before attempting to connect or operate this product, please read t
- 7 -● AUTO MODEAUTO MODE is for setting the movement of the camera. You can select from three automatic operation modesand one manual operation mode
- 8 -Note:The result of field setup of the mask area and level adjustment is fed back (effected) to the lens iriscontrol in ALC mode.(3) Shutter Speed
- 9 -• ATW (Auto Tracing White Balance)In this mode, the colour temperature is monitored continuously and thereby white balance is setautomatically.
- 10 - *** SET UP MENU ***PRESET 1* MAP* HOME POSITION 15 SELF RETURN 10MIN AUTO MODE OFF LOCAL/REMOTE LOCALCAMERA *Set
- 11 -The following communication parameters can be set:UNIT NUMBERSpecifies the camera ID numbers in case more than two cameras and WV-RM70 controlle
- 12 - Preset● Preset Menu Display1. Displaying the preset menu directly(1) Move the cursor to PRESET 1 and move the joystick to the left or right to
- 13 -3. To set the lens zoom and focus positionsMove the cursor to PUSH SET next to ZOOM/FOCUS and press theCAM (SET) key. The setting screen appears
- 14 -(5) To set a display position for a PRESET IDMove the cursor to POSI and press the CAM (SET) key. ThePRESET ID blinks and the display position s
- 15 -● Light Control Setting1. Move the cursor to ALC/MANUAL and move the joystick to the left orright to select ALC or MANUAL.ALC: The lens iris is
- 16 -● To return to the PRESET NUMBER SET Menu• Move the cursor to RET and press the CAM (SET) key. The PRESETNUMBER SET menu appears with the * mark
WARNING:TO PREVENT FIRE OR ELECTRIC SHOCK HAZARD, DO NOT EXPOSE THIS APPLIANCE TO RAIN ORMOISTURE.The lightning flash with arrowheadsymbol, within an
- 17 - Self Return Setting• To set a time-out parameter for return to the home positionMove the cursor to SELF RETURN and select a return time by mov
- 18 -5. To set endless turn ON/OFFMove the cursor to ENDLESS, and move the joystick to the left or rightto set endless turn ON or OFF.ON: The camera
- 19 -Character editing menu WV-CS600Blinking ** SET UP **CAMERA ID OFF *ALC/MANUAL ALC *SHUTTER OFFAGC ONSENS UP OFFSYN
- 20 -3. Light Control Setting (ALC/MANUAL)• Display SET UP on the monitor screen.If necessary, refer to Setup Menu Display for details on displaying
- 21 - * ALC CONT * BACK LIGHT COMPPRESET OFFMASK SET *LEVEL ...I... − +RET• If you want to change the vi
- 22 -5. Gain Control Setting (AGC ON/OFF)• Display SET UP on the monitor screen.If necessary, refer to Setup Menu Display for details on displaying t
- 23 -• Supply the video output signal of the camera to be adjusted and thereference camera video output signal (for example, Camera 1) to adual-trace
- 24 -8. White Balance Setting (WHITE BAL)(available only with WV-CS600A, WV-CS604E, WV-CSR600, orWV-CST600)(1) Auto-Tracing White Balance Mode (ATW)•
- 25 -(2) Automatic White Balance Control Mode (AWC)• Display SET UP on the monitor screen.(Refer to Setup Menu Display for details on displayingthe S
- 26 -10. Motion Detector Setting (MOTION DET)• Display SET UP on the monitor screen.(Refer to Setup Menu Display for details on displaying the SET UP
- 27 -11. Auto Focus Setting (AF MODE)1. Move the cursor to AF MODE, and move the joystick to the left orright to set auto focus operation mode.MANUAL
- 28 -(1) Chroma Level Setting (CHROMA GAIN) (available only with WV-CS600A, WV-CS604E, WV-CSR600, orWV-CST600)1. Move the cursor to CHROMA GAIN. The
- 29 -(5) To restore the camera default positionMove the cursor to REFRESH by using the joystick and press the F2button of the WV-CU550A.(For the WV-R
- 30 -INSTALLATIONPrecaution:The following installations should be made byqualified service personnel or system installers.Setting the camera switches
- 31 -1. Remove the mounting screw (M3) from thecamera mounting angle (provided).2. Mark the mounting holes on the ceiling, usingthe removed camera mo
- 32 -5. Mount the camera on the camera mountingangle and rotate the camera clockwise.2. Follow the instructions given here toensure that the camera a
How to assemble the cable with the accessoryconnectorStrip back the cable jacket approx. 3 mm (0.1 inch)and separate the individual conductors.Recomme
- 34 -• RS485 site connectionFor daisy chain connection of multiple cameras, make sure to match each male connector with its femalecounterpart.Note:Us
- 35 -SYSTEM CONNECTIONSCPURS-232CTIMEADJUST INCOMPRINTEROUT INVS/VDVDOUTOFF+9V+5V−5VPOWERON11A00001OUT IN1OUT IN2OUT IN3OUT IN4MONITORALARM
- 36 -Bright objectSmearPREVENTION OF BLOOMINGAND SMEARWhen the camera is aimed at a bright light, such asa spotlight, or a surface that reflects brig
- 1 -CONTENTSPREFACE ... 2FEATURES ...
- 37 -Normal/Automatic/Preset modeF1.7 - 22, CLOSECombination Camera (WV-BS500, WV-BS504E, WV-BST500)Camera(WV-BS500, WV-BS504E, WV-BST500)WV-BS500, W
- 38 -Pan / Tilt360° EndlessPossible (in Auto-Pan mode)Manual/Sequential Position/Sort Position/Auto PanManual : Approx. 3°/s - 120°/s eight stepsSequ
N0397-0 YWV8QA4546AN Printed in JapanN 30 Gedruckt in JapanImprimé au JaponImpreso en JapónMatsushita Electric Industrial Co., Ltd.Central P.O. Box 28
- 2 -PREFACEPanasonic presents highly advanced CCVEtechnology meets the demand of new and ever-changing applications. This model is utilized videosurv
- 3 -CONSTRUCTIONwqertyuioe*(6) Fall Prevention Wire(7) Decoration Cover(8) Cooling Holes(9) Dome Cover(1) Data Cable (only for WV-CSR600)(2) Video Ou
- 4 -Wide DynamicRange ON/OFFDwell TimeSettingScene FileSettingCamera IDDisplayPositionPreset IDDisplayPositionPreset ON(Back LightCompensation)Shutte
- 5 -Left SwitchSet SwitchRight SwitchDown SwitchUp Switch• WV-RM70(available with all models except WV-CSR600)Up Switch: Moves the cursor upwards.Dow
Setup Menu Description● RS485 site communication (only WV-CSR600)Communication parameters• Full/Half duplex (page 30)• Transmission speed (2400 - 19
Related products and manuals for Camera accessories Panasonic WVCS600_SERIES
 (16 pages)
© 2020, manymanuals.com. All rights reserved. | 1.418 s |
 Manymanuals.com
 Manymanuals.de
 Manymanuals.fr
 Manymanuals.it
 Manymanuals.pl
 Manymanuals.cz
 Manymanuals.es
 Manymanuals-pt.com
Comments to this Manuals